
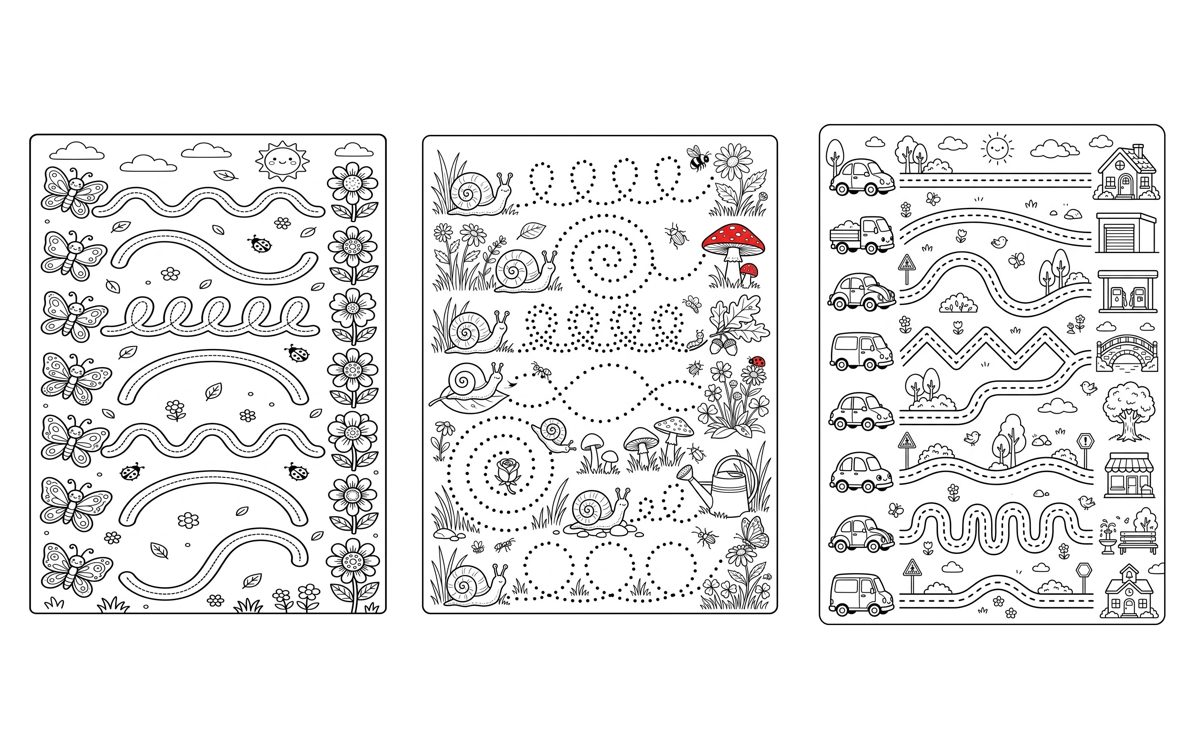
Pencil control means moving a drawing tool where you intend: starting a line, changing direction and deciding when to lift it. A child can explore those movements without writing letters or completing a whole worksheet. This guide helps you choose a task by the movement on the page.
Prepare one small task
Use a stable table, paper and a pencil or crayon the child finds comfortable. Print with “Fit to page” and check that all four borders are visible. Let the child trace the route with a finger first; an adult can demonstrate on spare paper without drawing over the child’s work. The ages on the guides are suggestions, not deadlines.
1. Begin with a straight path
Rainy Day Raindrops has dotted lines from clouds toward a pond. Choose one line, find its top and follow it downward. Cover the other lines if they distract. Lift the pencil at the end instead of rushing straight into the next path.
2. Try a wide curve
In Butterfly Garden Paths, butterflies lead toward flowers along wide tracks with dashed centers. Follow one center line slowly, looking ahead to the next bend. If a loop feels difficult, return to a gentler curve rather than insisting on the whole row.
3. Pause at a zigzag corner
Choose one of the wider trails in Dino Zigzag Trails. Point to the peaks before starting. At each turn, pause and change direction; the line does not need to be drawn in one uninterrupted movement.
4. Trace an outline, then choose one area to color
Blast-Off Rocket separates dotted parts of the rocket from solid details. Trace a short dotted section, lift the pencil and find the next section. This is outline tracing, not a numbered connect-the-dots puzzle.
5. Move from a sample to your own marks
On Monster Tufts, trace one bubble, then repeat its zigzag, wave, loop or straight stroke above that monster’s head. The new marks can be larger or smaller. One tuft is enough to try moving from a model to an independent drawing.
6. Complete one unfinished picture
Choose the umbrella in Sunny Day & Garden. Look at where the existing lines stop and add the matching side. Other completion sheets contain side-view animals and irregular objects, so copying a mirror image is not always the right approach; use each guide’s instructions.
7. Take the movement off the worksheet
Draw a large road on spare paper or make waves with chalk on a suitable surface. Let the child follow it with a finger, then a drawing tool. Wider movements offer a different way to explore the same route when small marks feel frustrating.
Decide what to do next
- The sheet slips: hold one edge with the other hand or secure it to the table.
- The child presses hard: compare a light and a dark mark on spare paper; check which pressure feels comfortable.
- The route is confusing: show just one start and finish, or return to finger tracing.
- The hand hurts or interest has gone: stop. Another worksheet is not the solution to discomfort.
A short session can be enough: choose a route, try it and let the child decide whether to repeat it. There is no need to complete all seven activities. If pain or difficulties with drawing tools persist, discuss them with a teacher or health professional.
Try it with these printable pages
- Pencil Control to compare paths before choosing.
- Funny Hair & Patterns for copying a sample into an original hairstyle.
- Coloring together for conversation and color choices after tracing.